
Yoti provides a portal that allows you to use the Identity Verification service without any technical integration
You will be able to create Identity Verification sessions to send to your customers using our user-friendly product, without writing a single line of code.
To get started, please follow the steps below:
Set up an account on the Hub
Register an organisation and get verified.
Create an application service and choose your configuration setup.
Add Portal users
Log on to the portal
The section below provides a step-by-step walkthrough of the setup process.
Help If you need any help, please contact us through our support form
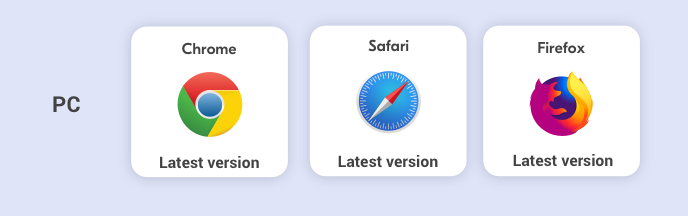
Supported Browsers
Create and Configure Your Service
Here you will to create an Identity verification application in your Yoti Hub. To create your service:-
Click the services tab in the side menu.
Choose which product you would like to integrate with, select Identity verification:
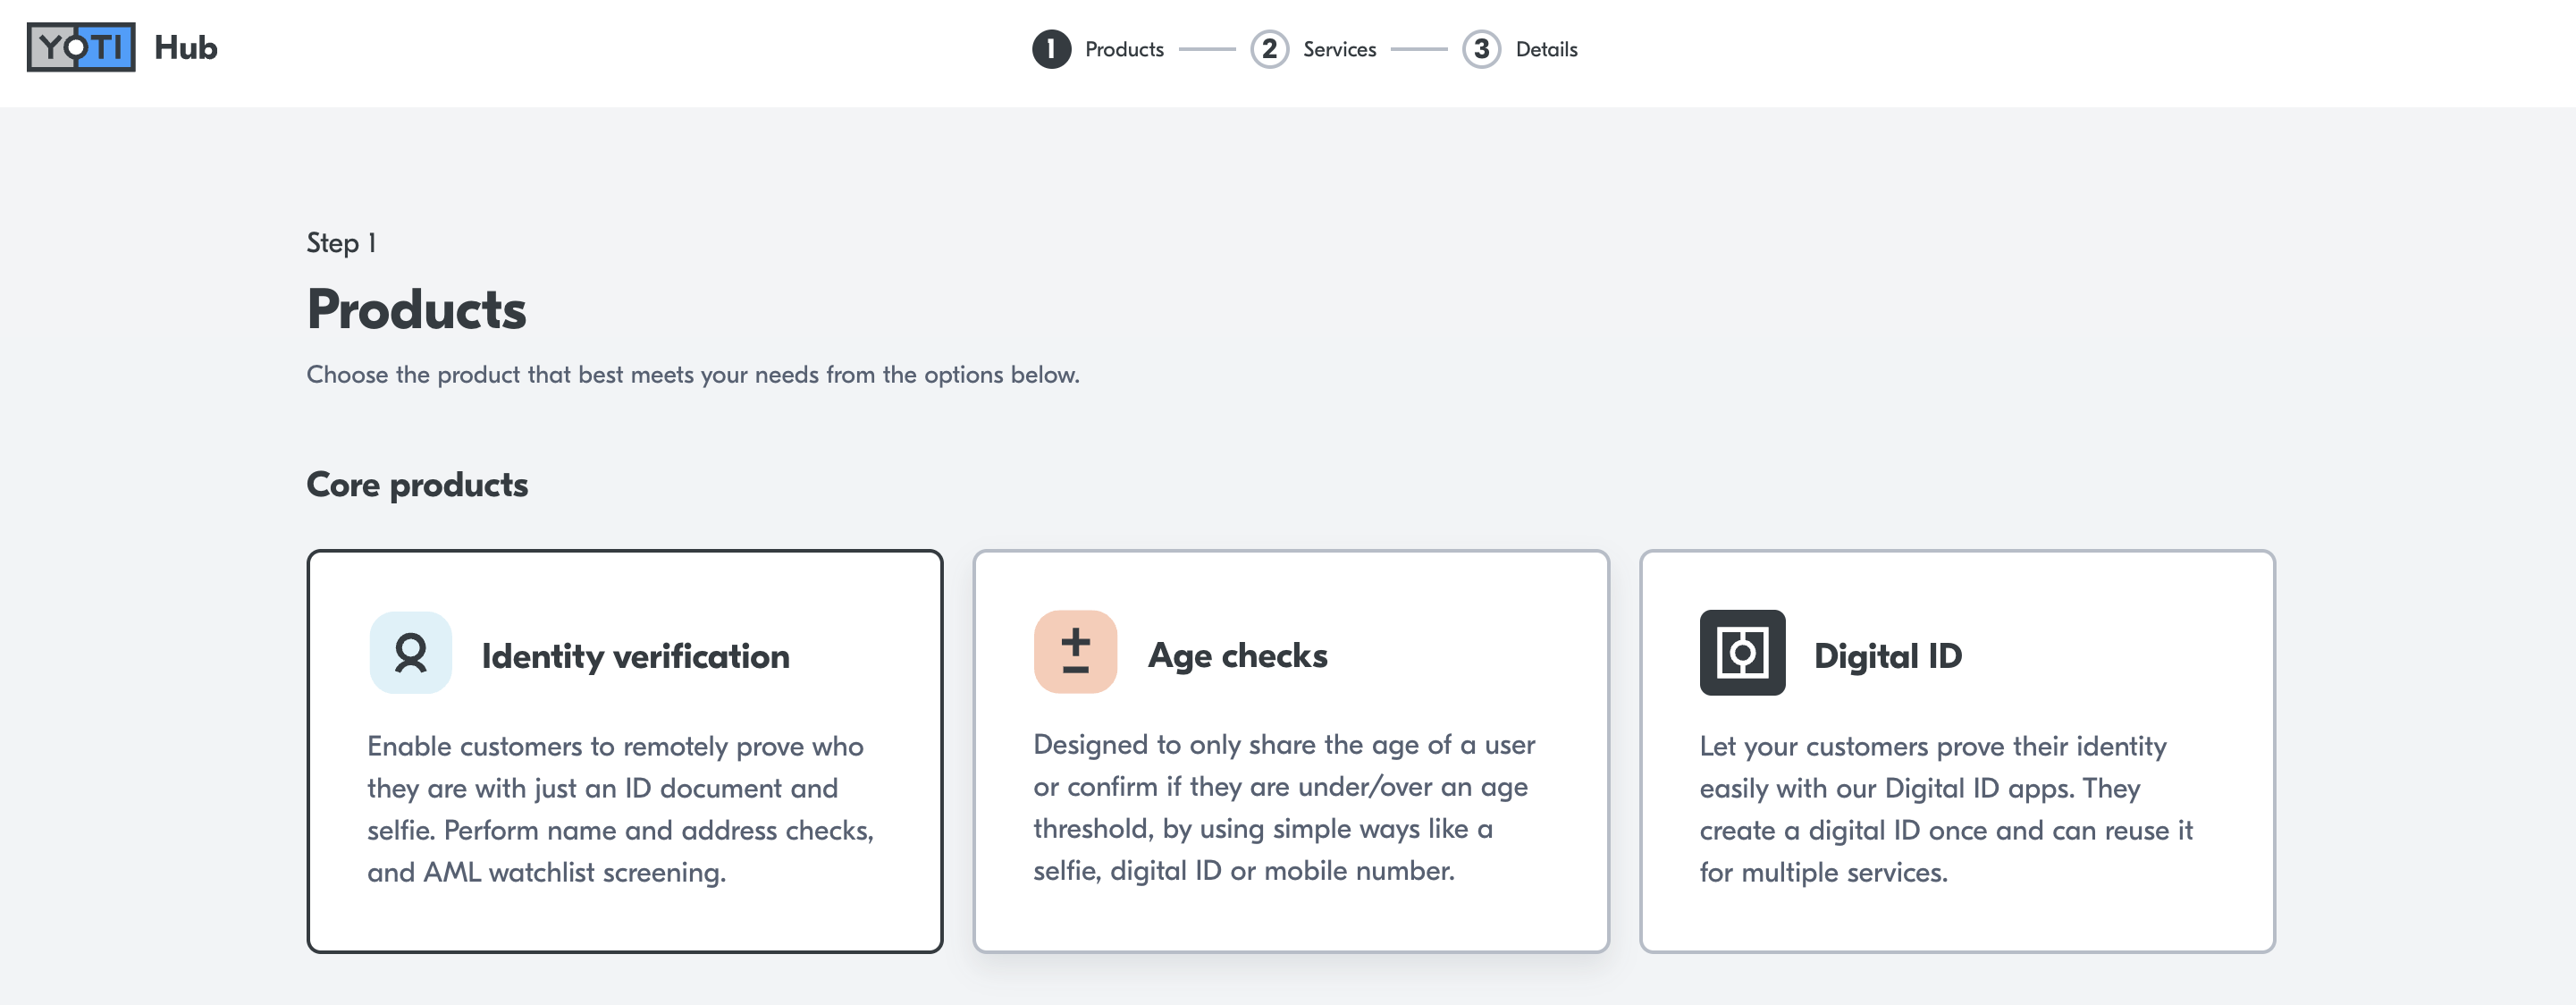
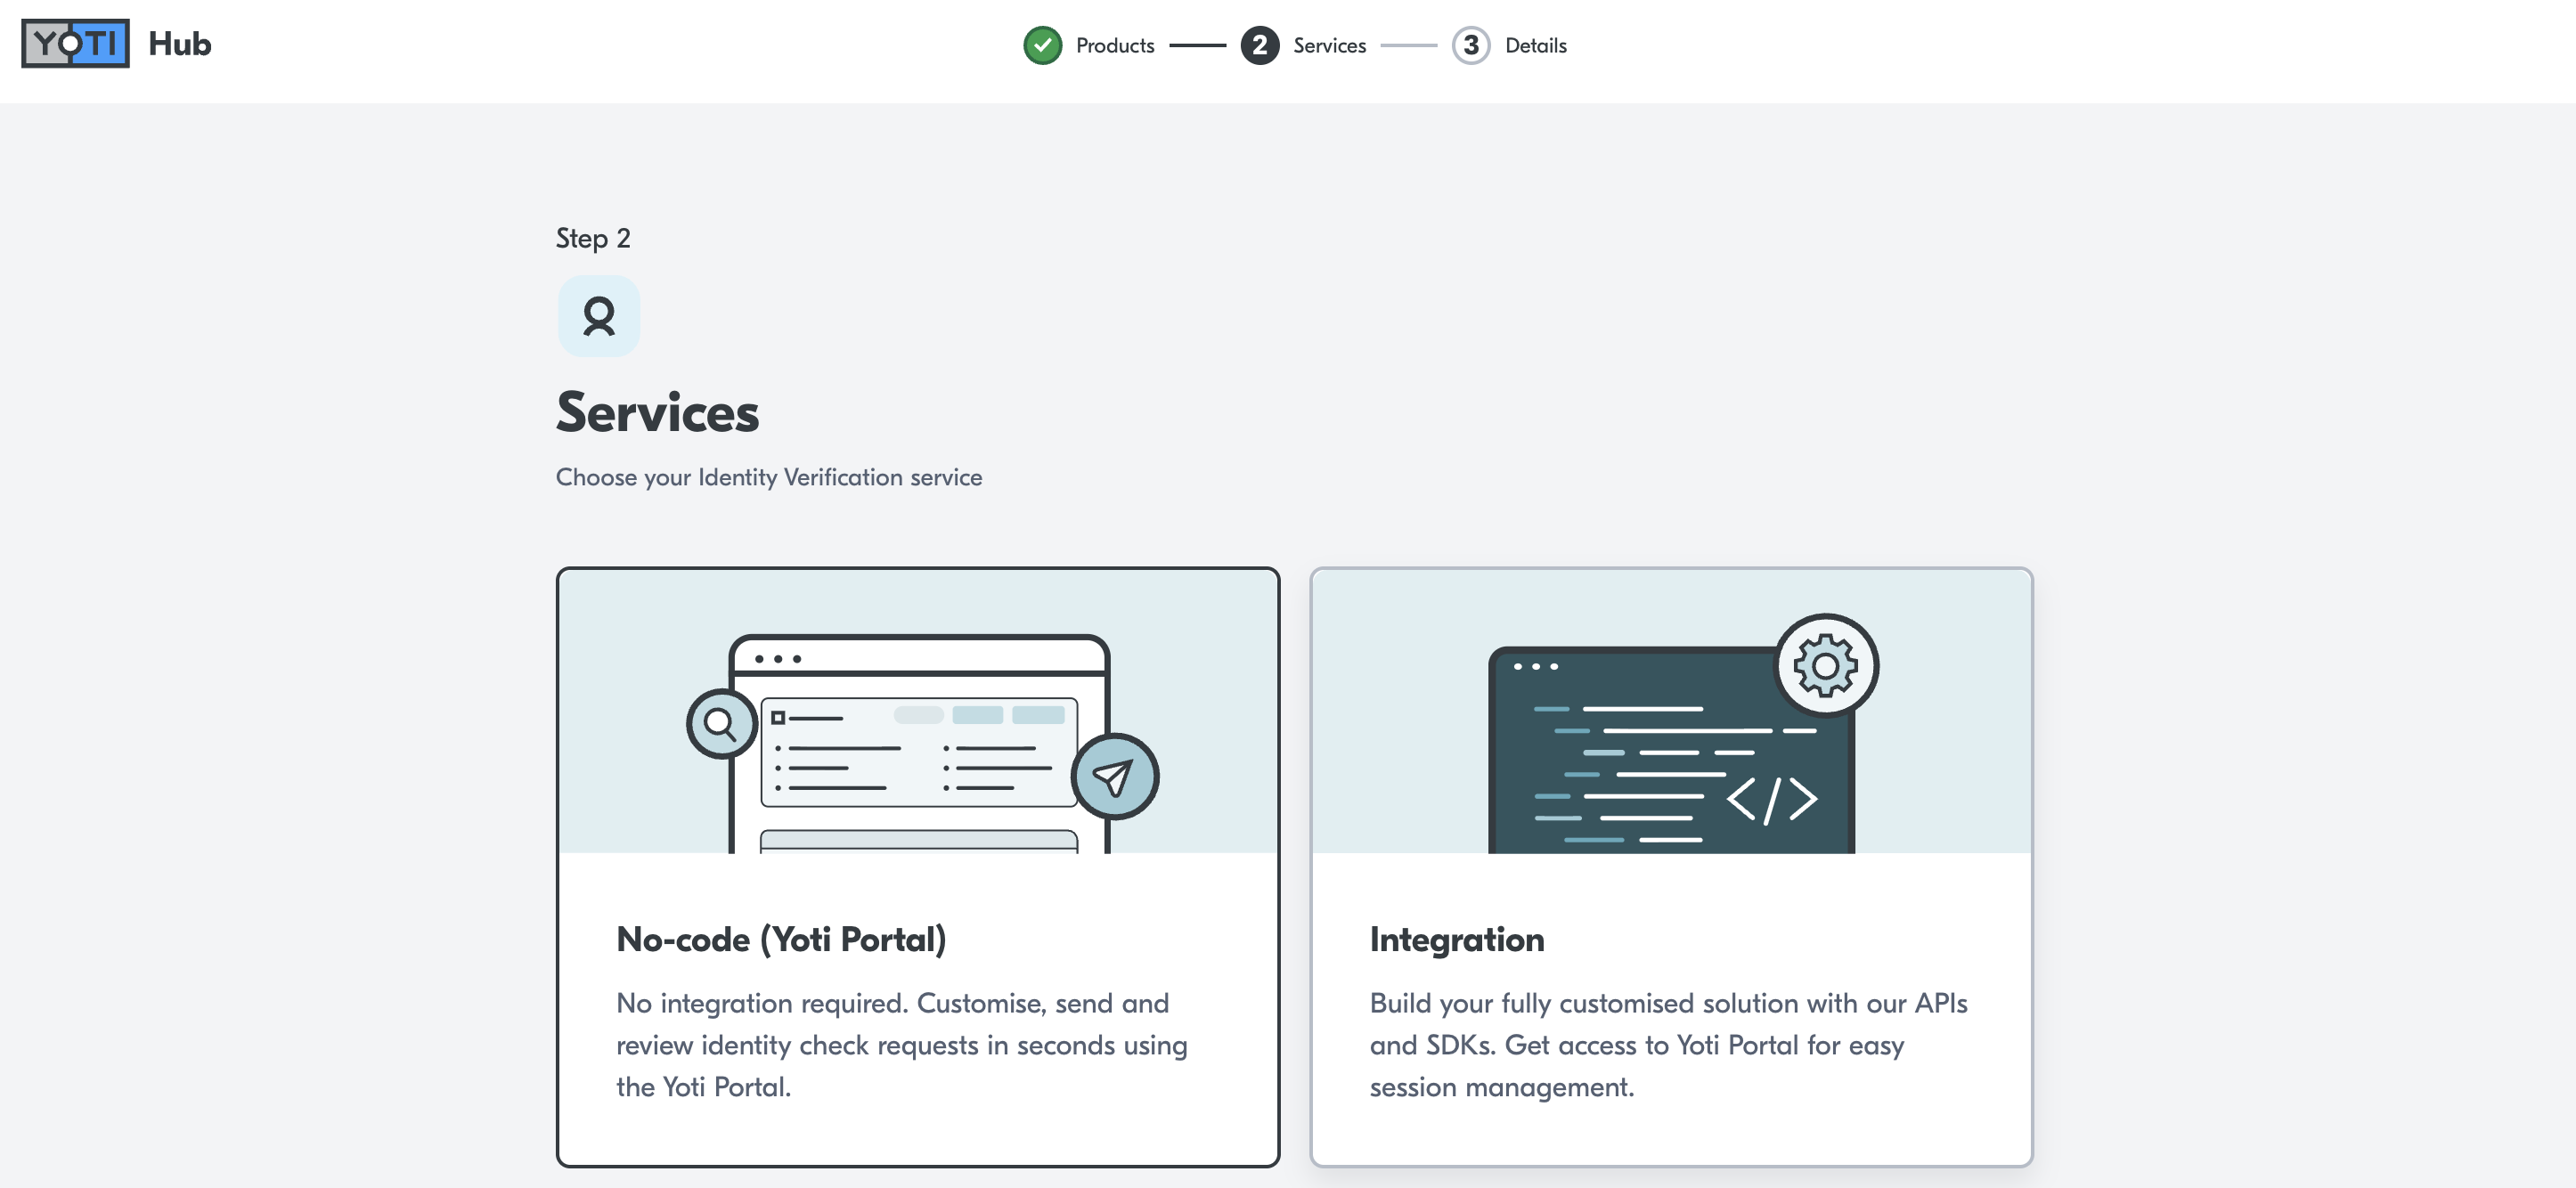
After pressing Continue, click on the No-Code(Yoti Portal) option:
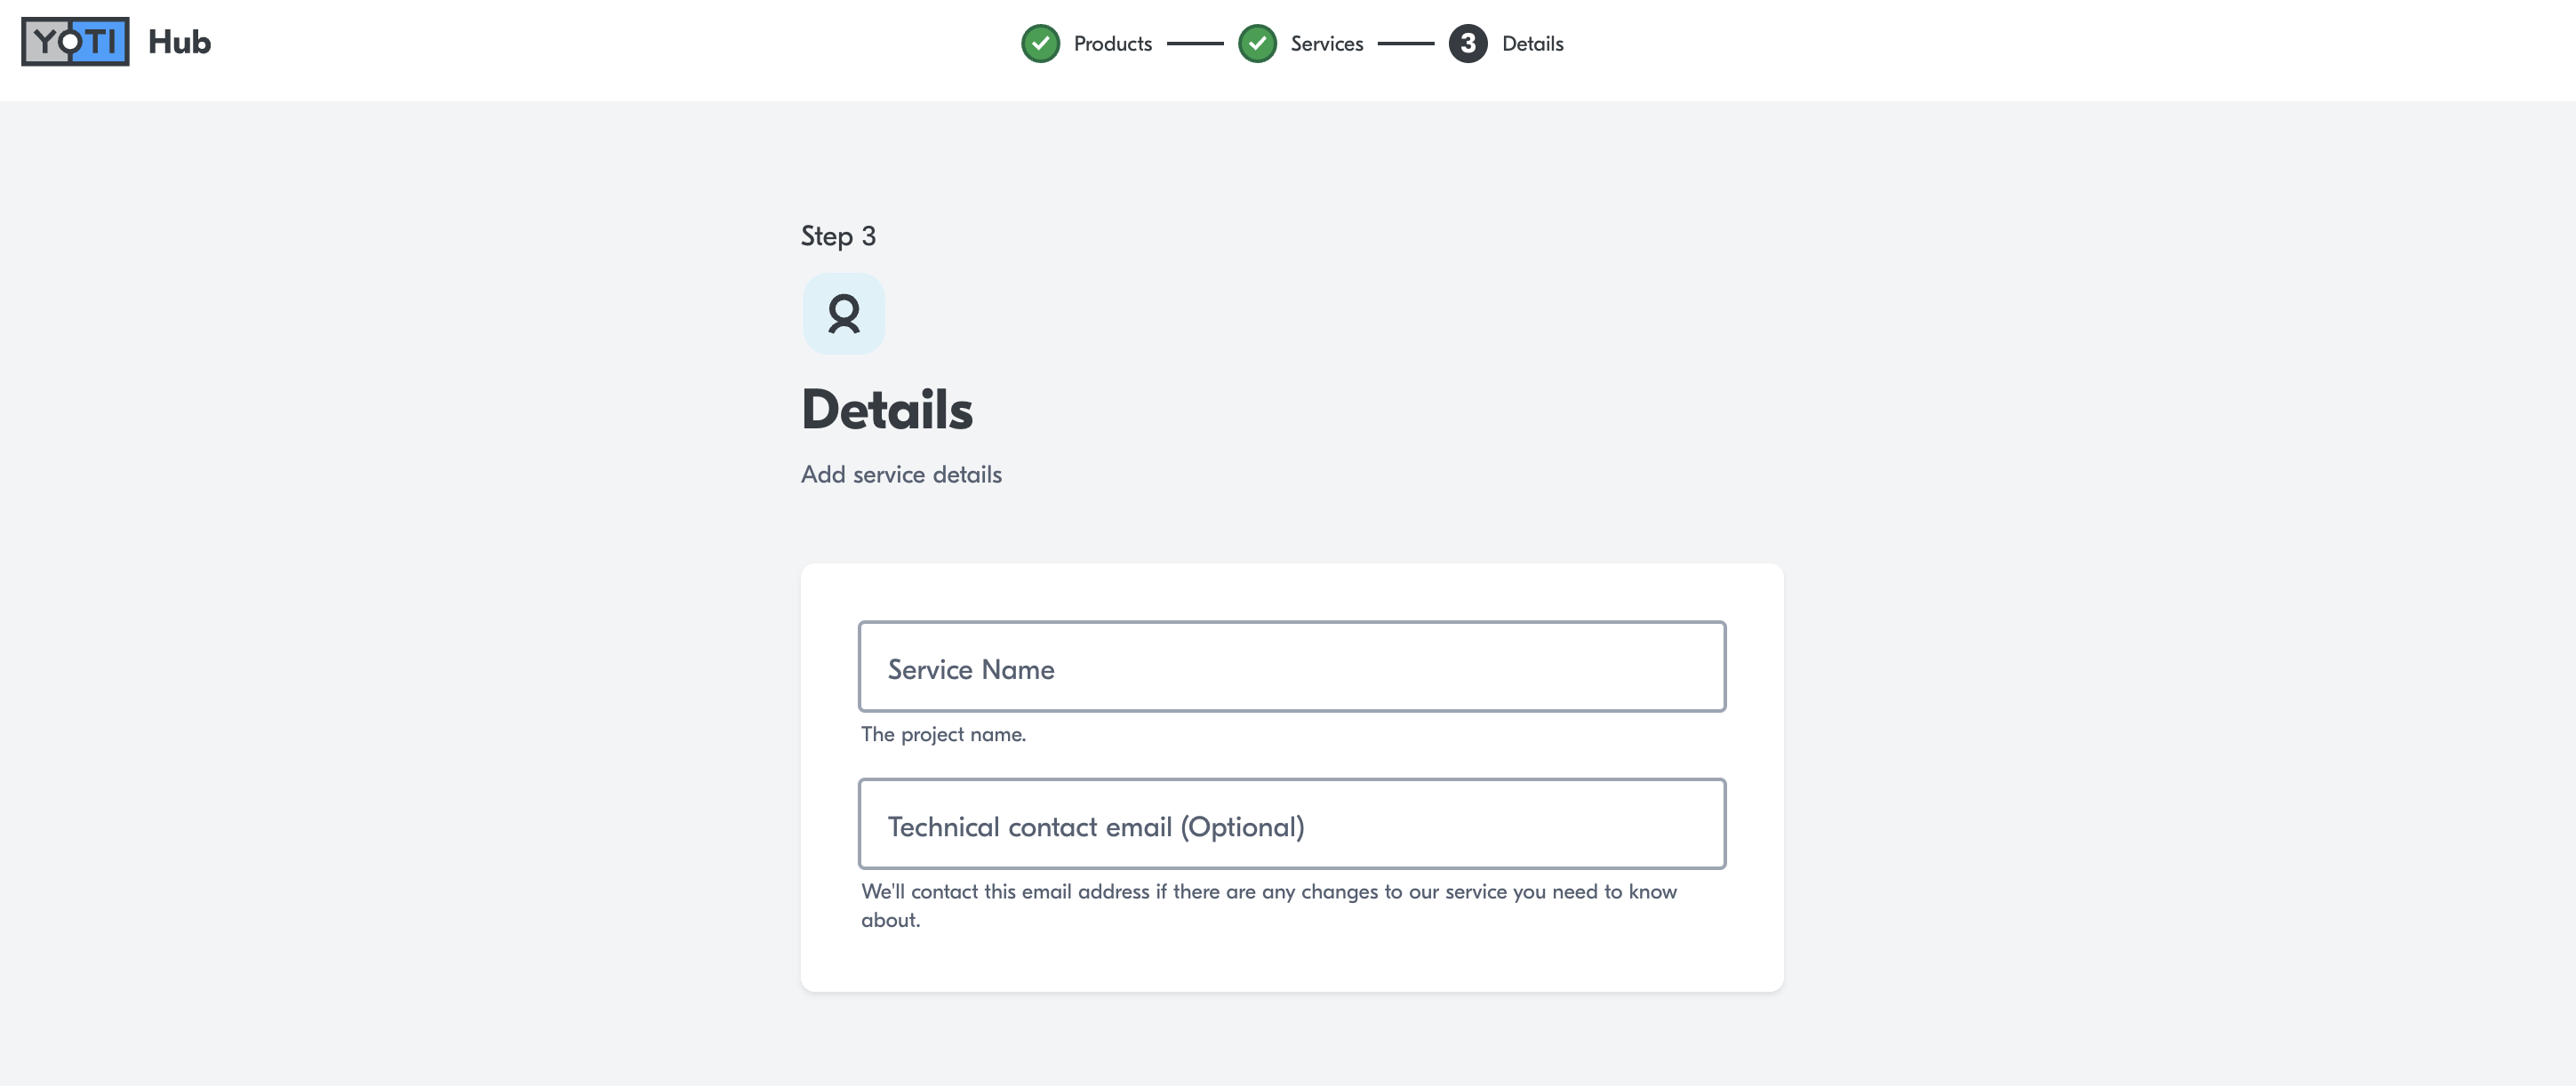
Fill in the Details tab - including your service name, then click Create.
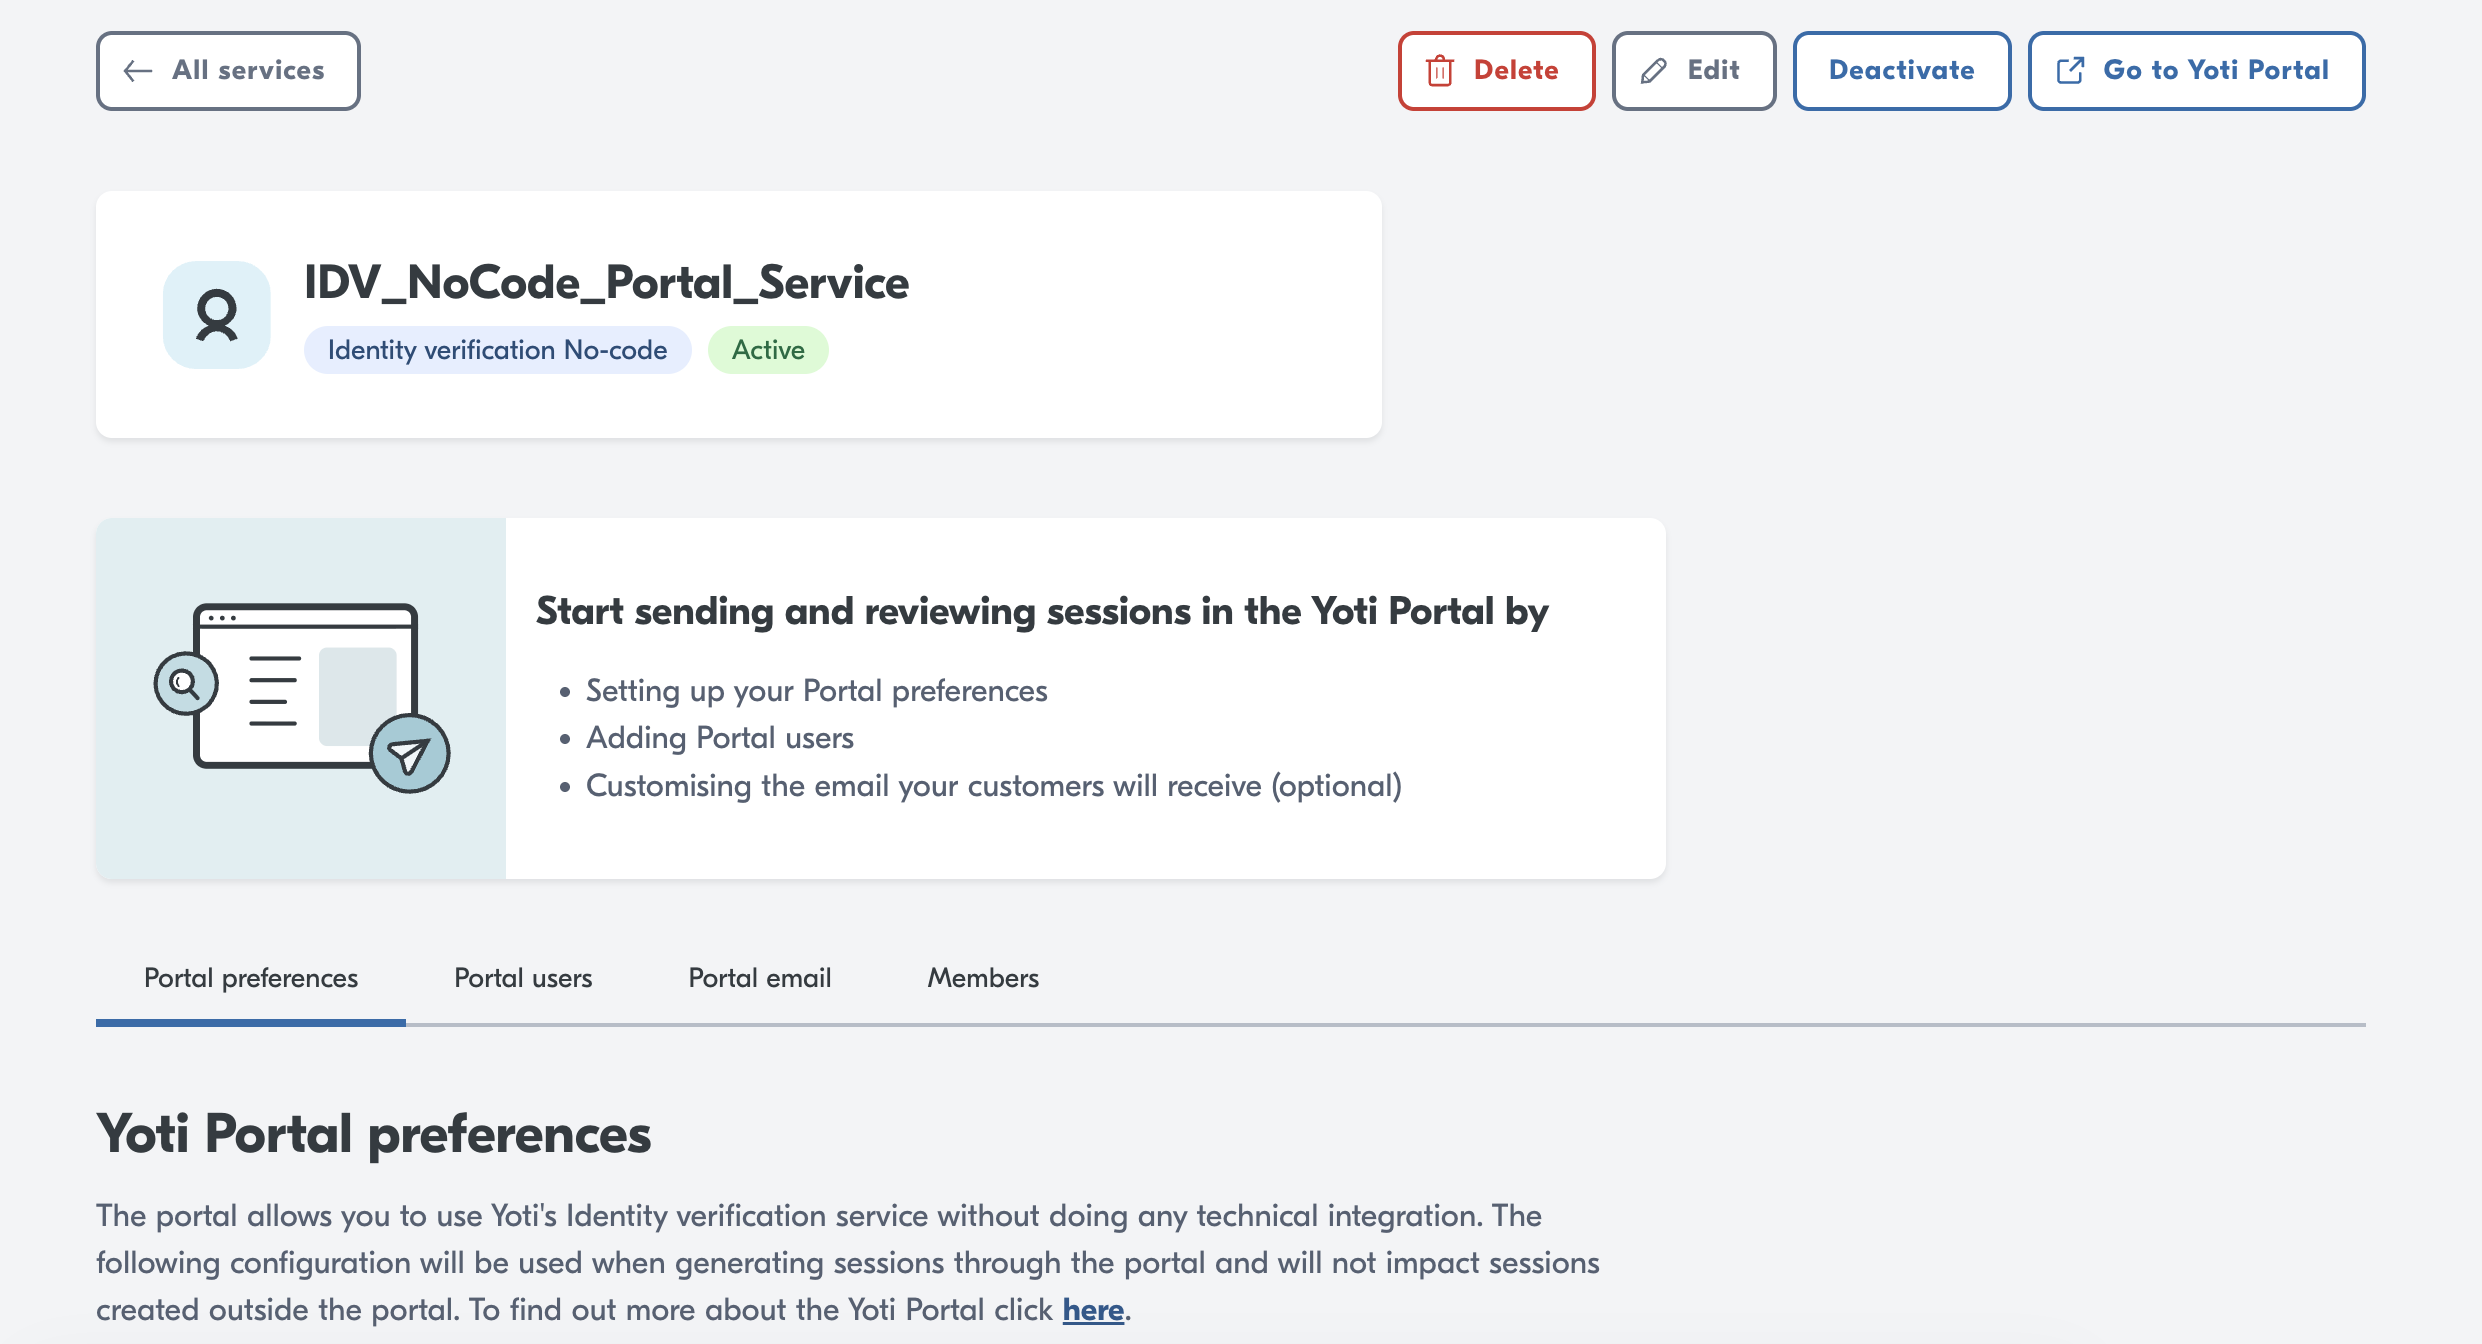
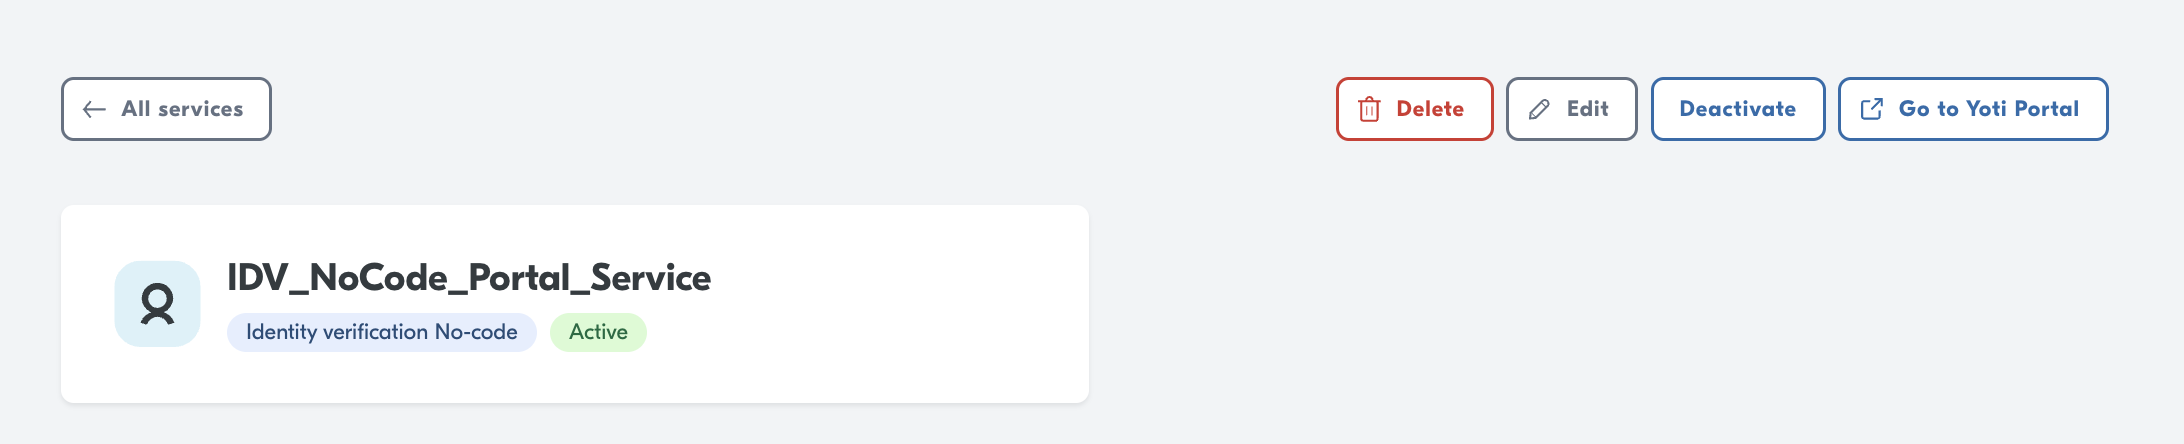
Once complete, you will see the following screen
Access Control
By default, as the applicant of the organisation, you will have full access to your organisation's account. You will have the ability to add members to your organisation.
Permissions let users perform certain actions within organisations, applications and pages.
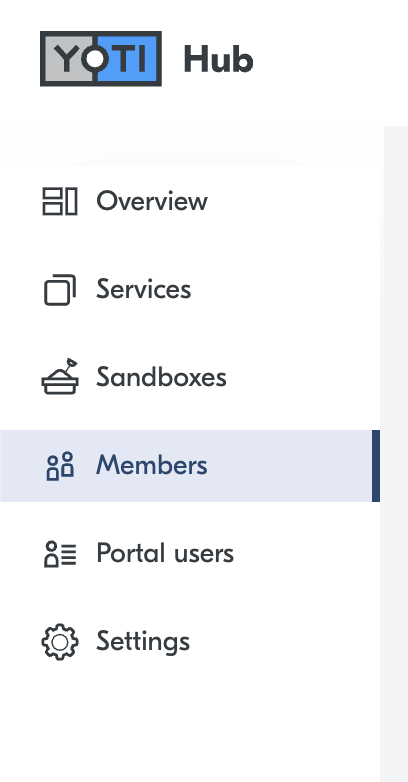
To add members, log in to your organisation and go to the side menu and click Members:
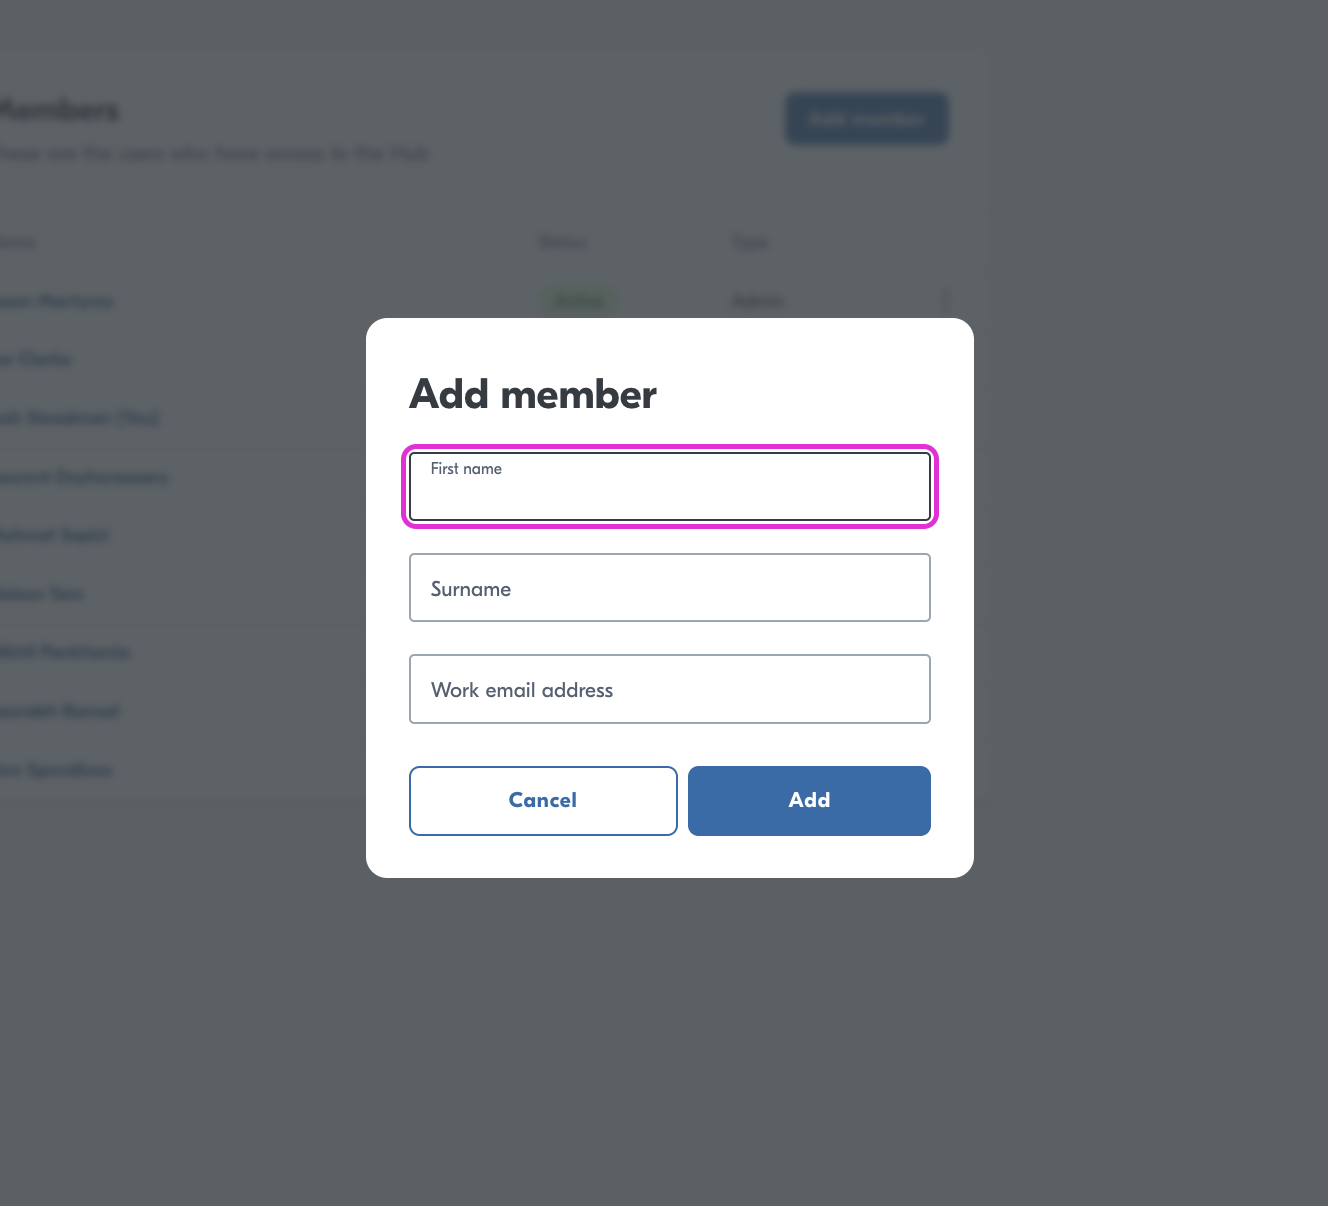
Click Add a member and fill in the details - please make sure the email address you use to invite a colleague to your organisation is the same as the email address they have added to their Yoti.
Once you have completed this, the user will receive an email and will gain access to your Hub account when they scan the QR code sent to them.
Hint We strongly recommend you add another user to your Hub account as a backup user in case you lose access to your Yoti account.
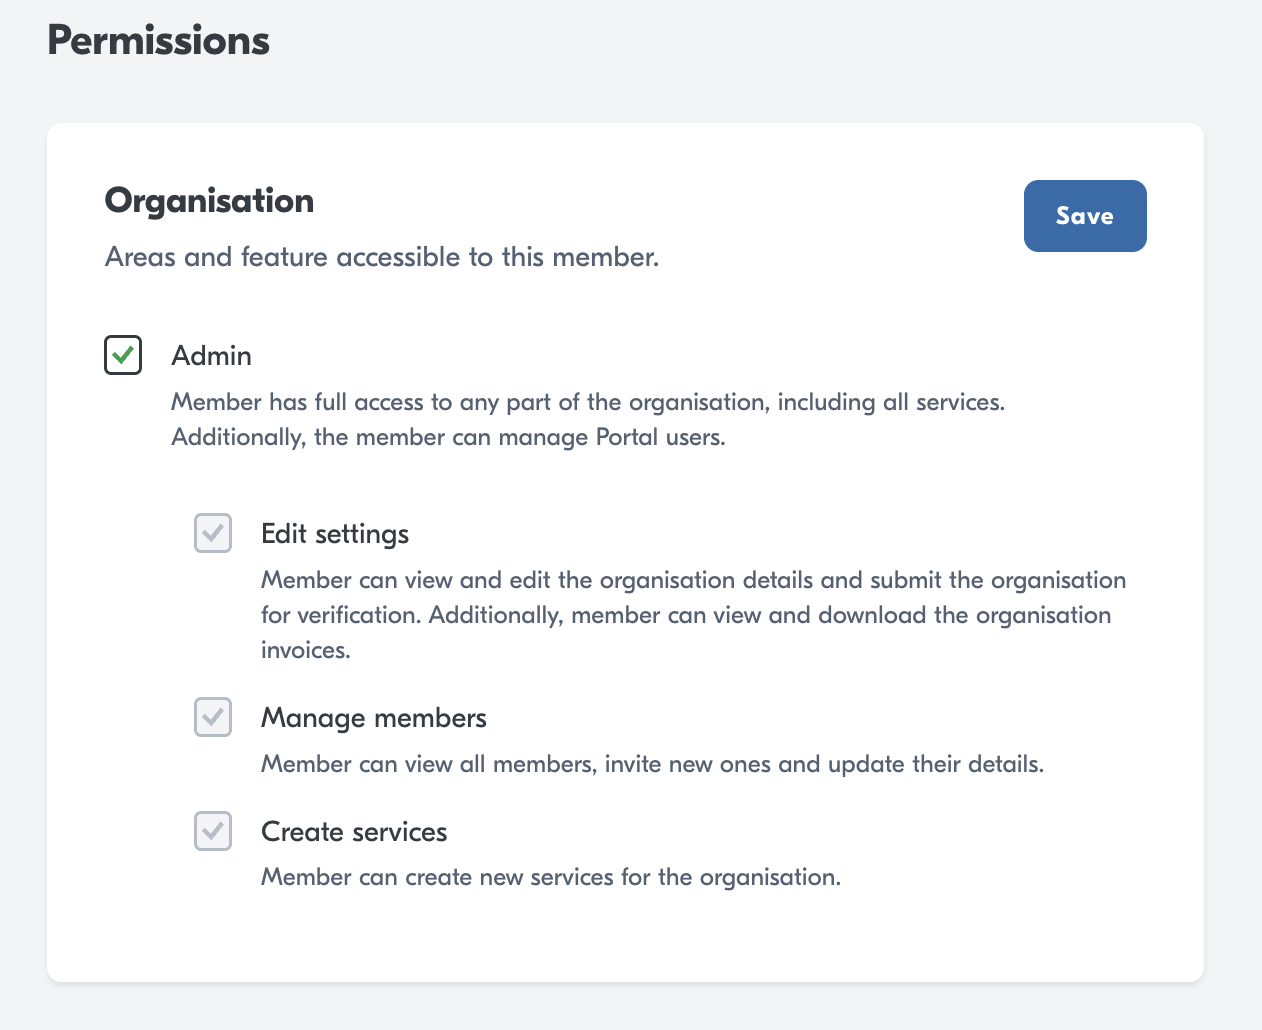
Organisation Permissions
You need to be an admin to assign organisation permissions to users.
When a user gets invited to an organisation, they don't have any permissions by default. But they can still accept the invitation and access the organisation.
An organisation admin is able to give permissions to a user from the Permissions tab on their profile page.
Service Permissions
Once a user is part of an organisation, they can be invited as collaborators for individual services. An organisation admin can set collaborator permissions for a user on their profile page, or they can be set in the Members tab within the service.
Once a user is added as a collaborator of a service, they automatically get collaborator permissions.
Delete a user
If you have a leaver, the administrator of the account will need to do the following:
Log into the hub
Navigate to their organisation
Click on Members
Click on the user they want to remove
Click REMOVE MEMBER
This will not prevent the user from logging in to the Hub; this will only remove access to the Organisation account. Yoti does not administer Hub accounts for you; it's all under your control and responsibility.
Deleting your service
To delete your service, go into the Service and press Delete.
There is also an option to deactivate your Service, which will hold your Service in a paused state. You will not be able to create or access sessions whilst your Service is deactivated
If you delete your service, we cannot recover it for you.